Introduction
Tracking projects for your non-profit can be a useful integration within your CRM in order to track volunteer hours and time/effort allocated to various projects. These details can also be incredibly helpful when reporting on special projects coordinated with your organization or in instances where you need to track and report on volunteer hours.
Table of Contents
Prerequisites
If setting up a project for the first time, please begin with the Configuration and Customization section to get started. These elements will allow you to create the needed elements and tracking specific to your organization.
Instructions - Configuration and Customization
Before you can begin leveraging the Project feature within CharityEngine, you will need to complete some basic configuration. The following steps will guide you on set up for the types of projects and tracking needed to fit your organization's needs.
Step 1: Navigate to the Configuration App > Projects & Time > Project Types
Step 2: Here you will create one or more recurring project types for your organization (i.e. Event Planning or Volunteer). Click on + icon to create a new type and enter the Name of the project. Description can be optional. Click SAVE to secure.

Step 3: Navigate to the Configuration App > Projects & Time > Project Status > + icon > Name (required) > Type (select from drop down) > SAVE
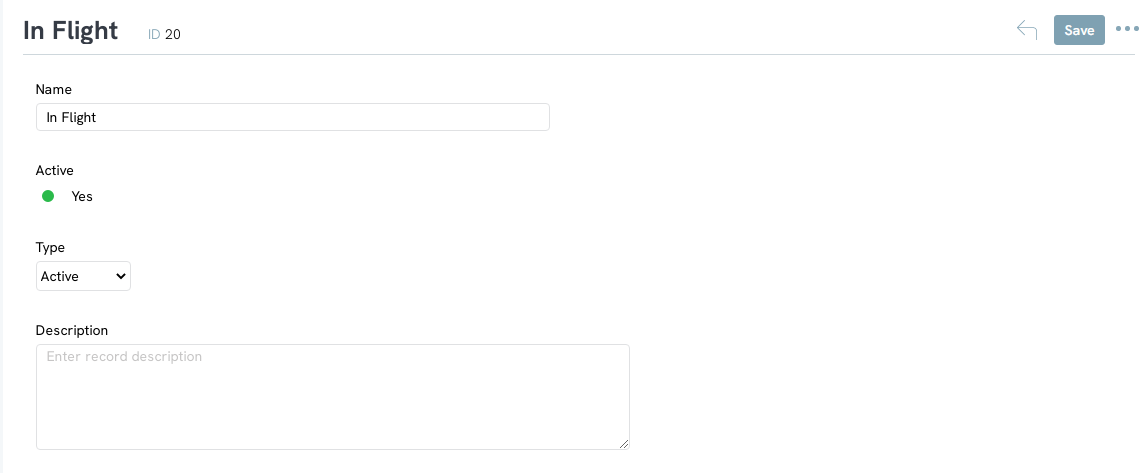
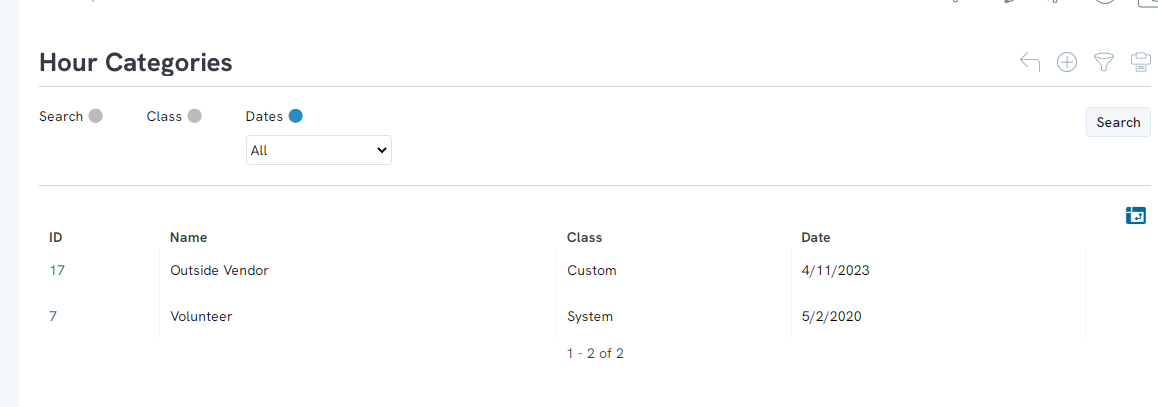
Step 4: The next two steps are related to how individuals who track time. Navigate to the Configuration App > Projects & Time > Hour Categories > + icon > Name (required - Description optional) > SAVE
Note: "Volunteer" is a system created category and available for you
Step 5: This portion will further categorize project types. Navigate to the Configuration App > Projects & Time > Project Time > Hours Types > Create New > Name (required - description optional) > SAVE

Instructions - Creating a New Project
Now that you have created the custom projects and time tracking, you can create your first project.
Step 1: Navigate to the People App > Projects & Time > Projects > + icon
Step 2: Enter your Project Name, select the project Type, Status, Dates (optional), Stakeholder (optional), Manager (optional), Description
Step 3: Click SAVE to secure your project
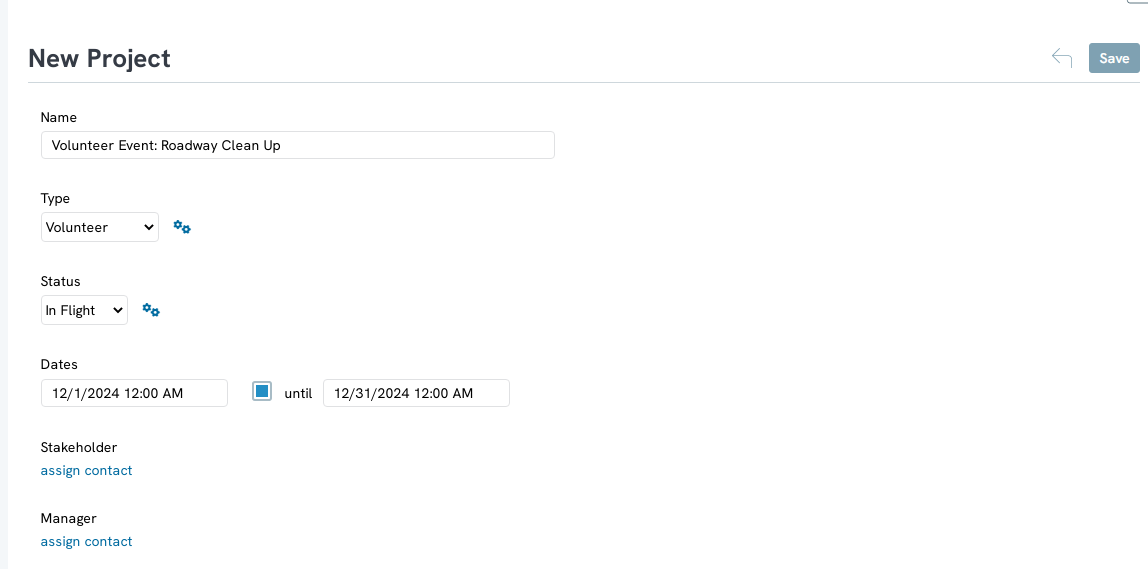
Once saved, the user will have the ability to add Funds, manually add Time entries, add Notes, and/or Files.
Instructions - Tracking My Time
Users of CharityEngine can also directly track their personal time. Note, other members of your organization can enter time against projects using the steps in the next section.
Step 1: Navigate to the People App > Projects & Time > My Time
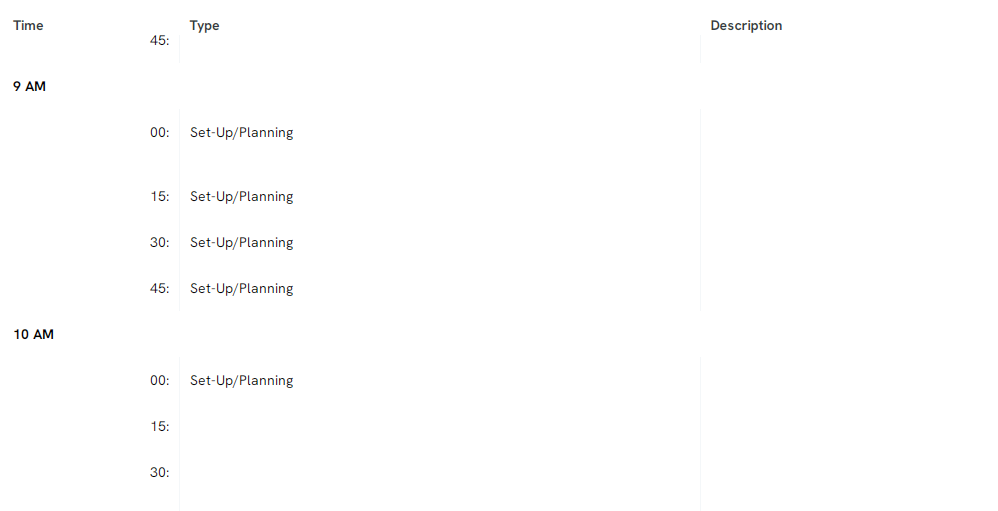
Step 2: Click on Create New and enter the allocated start/end time, the type of time tracking, the associated project, and event (if applicable). Add a brief description and click SAVE.
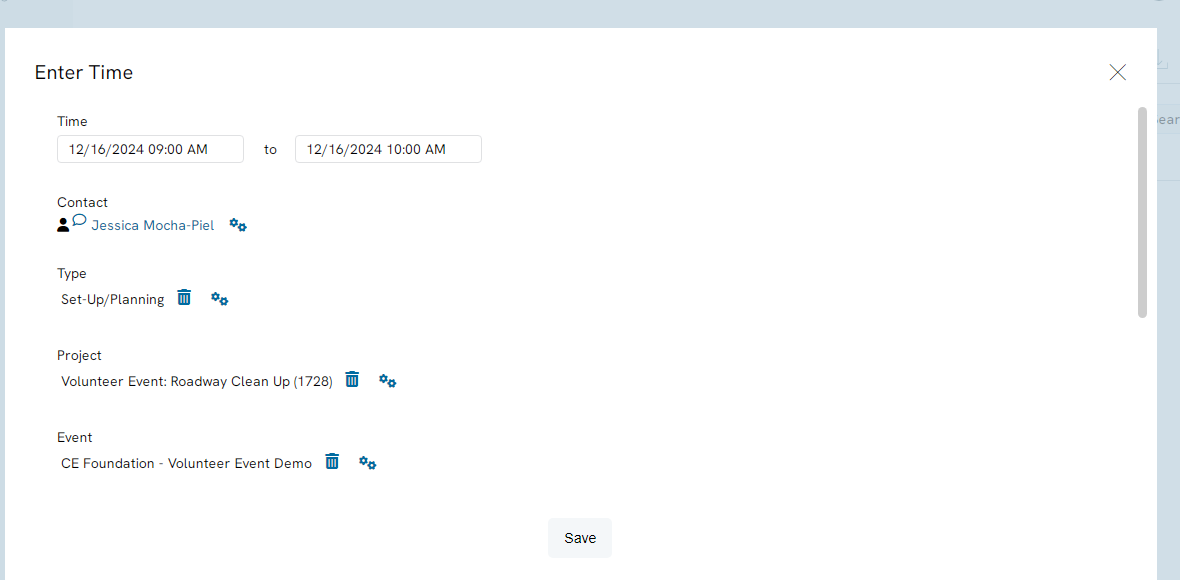
The user will now have a view of their tracked time.
Instructions - Tracking Time for a Project
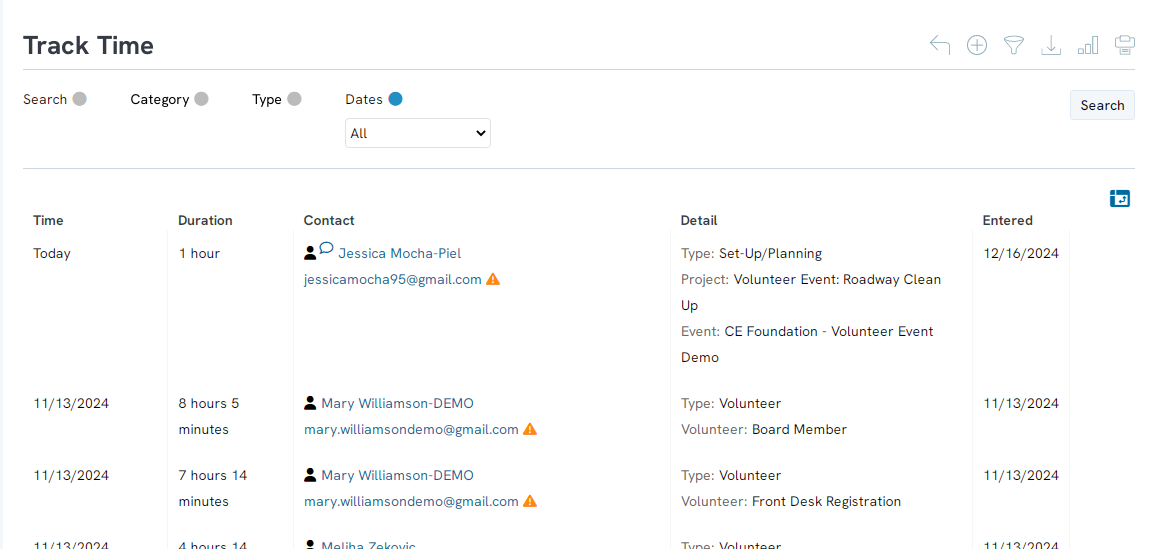
Leveraging the Track Time feature allows users to manually enter time for others and/or review reporting options.
Step 1: Navigate to the People App > Projects & Time > Track Time
Step 2: From the listing screen, easily modify filters to identify specific times associated with one or more projects (export or use the report builder for custom reporting needs)
Step 3: To manually add time for another user, click on the + icon to enter project time
Adding Contact & Project Details to Time Query Builder Group
Exposing project elements (i.e start date, end date, hours, id, name, type etc.) within the Contacts>Time Query Builder.
This allows for end user to leverage data elements found within contacts (name, address, giving history or solicitor id) to blend with projects/shift details with the Contacts Query.
