
CharityEngine provides you with advanced access to leverage public APIs. This will allow web developers to integrate CharityEngine fields and data in a more advanced approach.
Click here to access the Help Center new user interface article.
Step 1: Navigate to the Automation & Workflow App > API > Web API
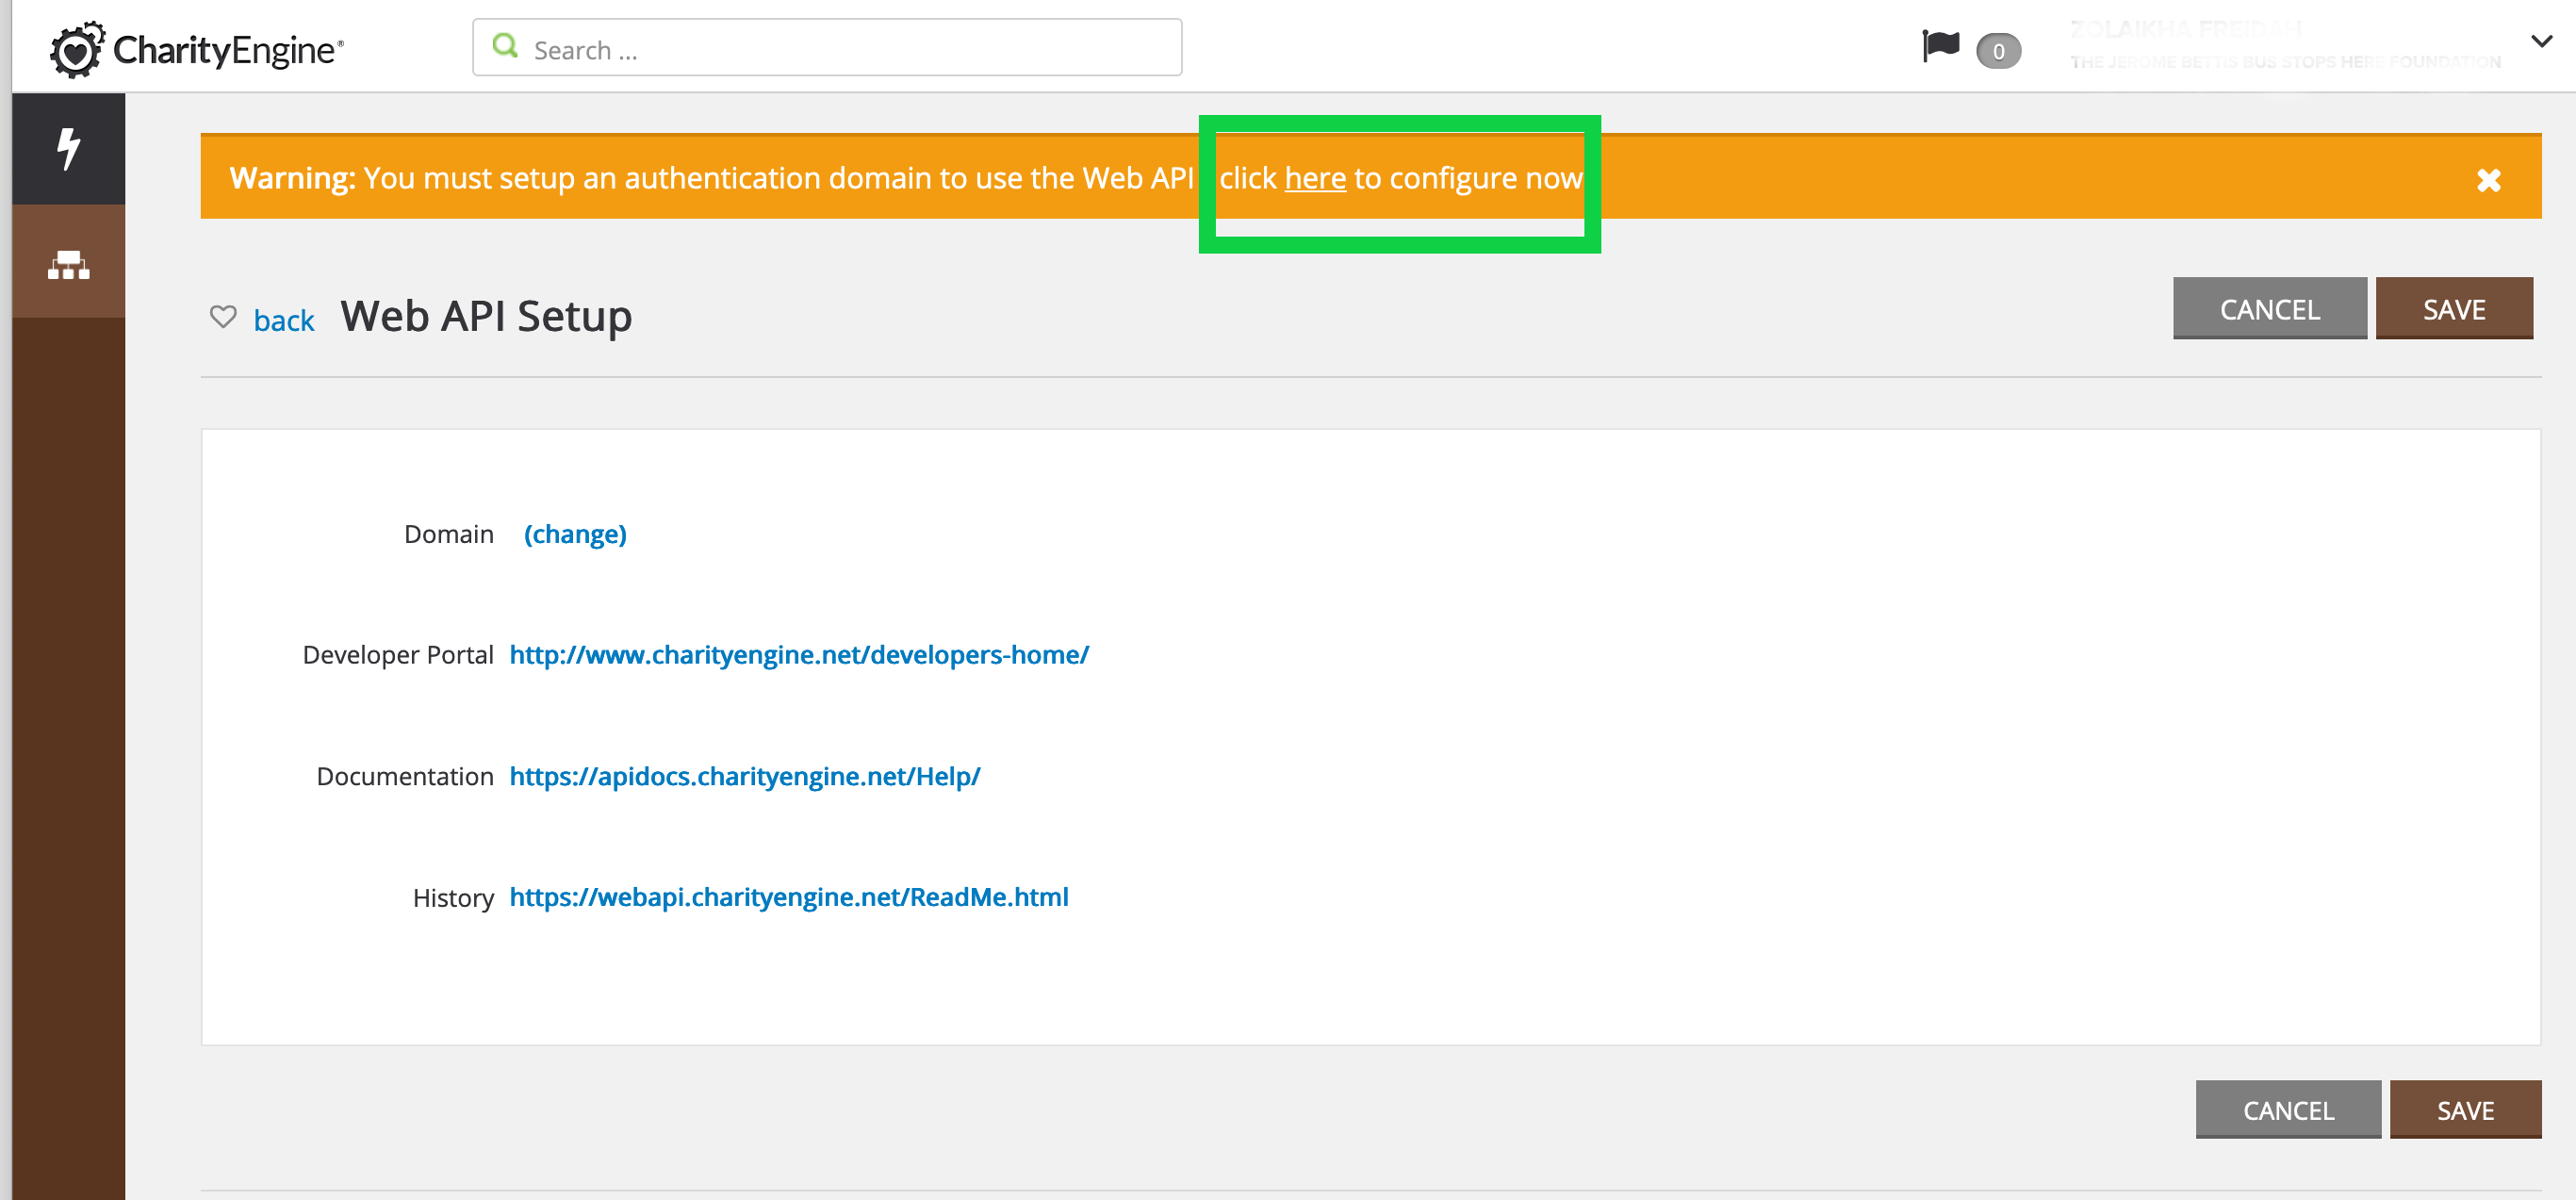
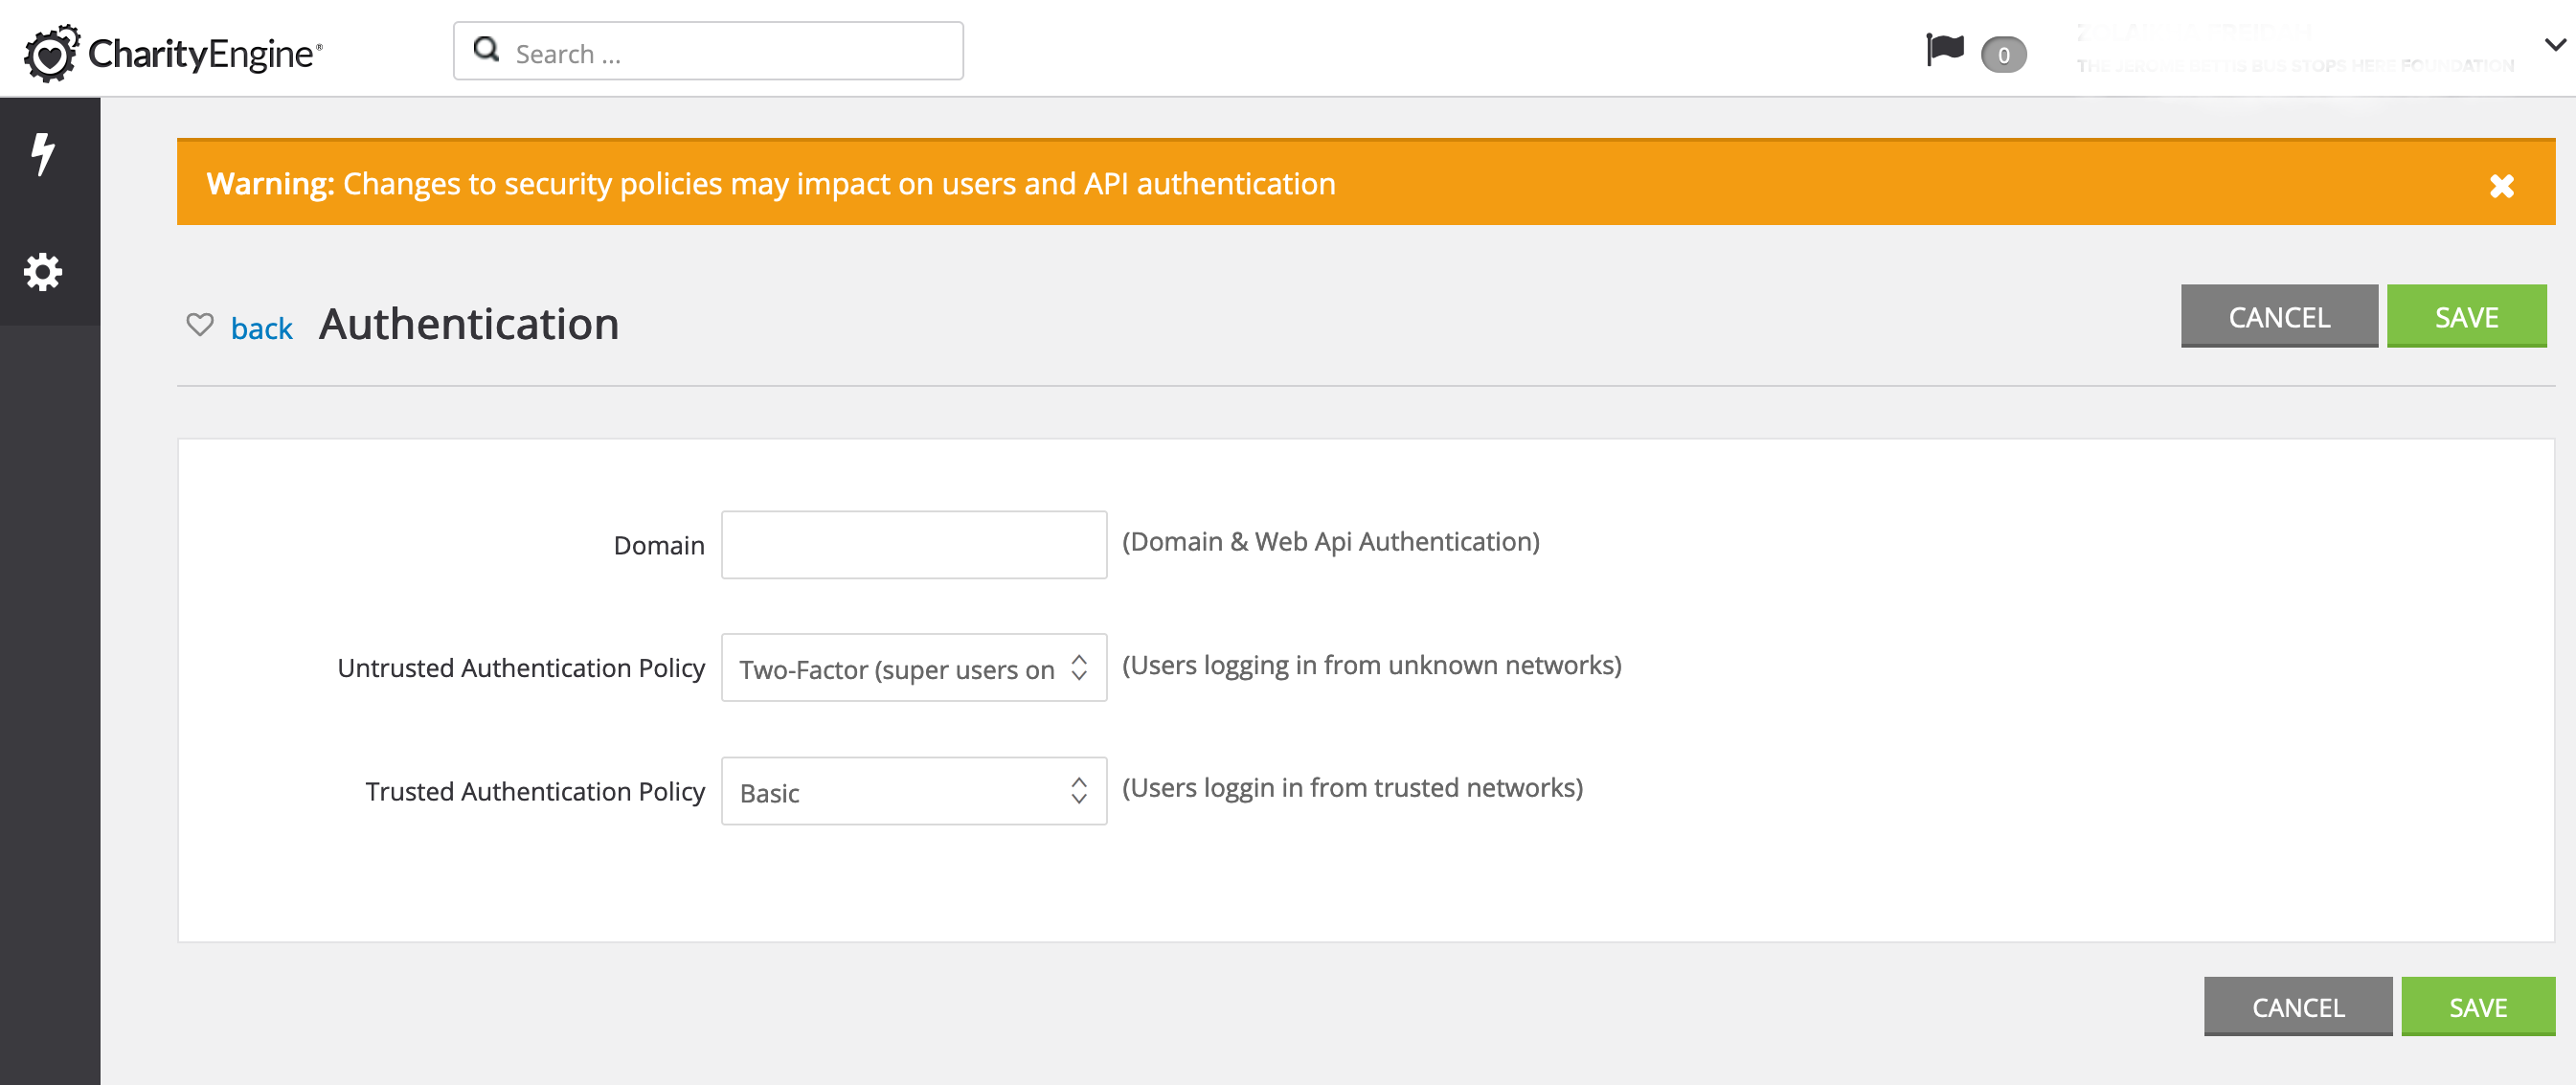
Step 2: If you see the orange banner alerting you to set up your key, click on the link outlined below.
**If the key has already been set up, you will see a value next to the Domain field. 

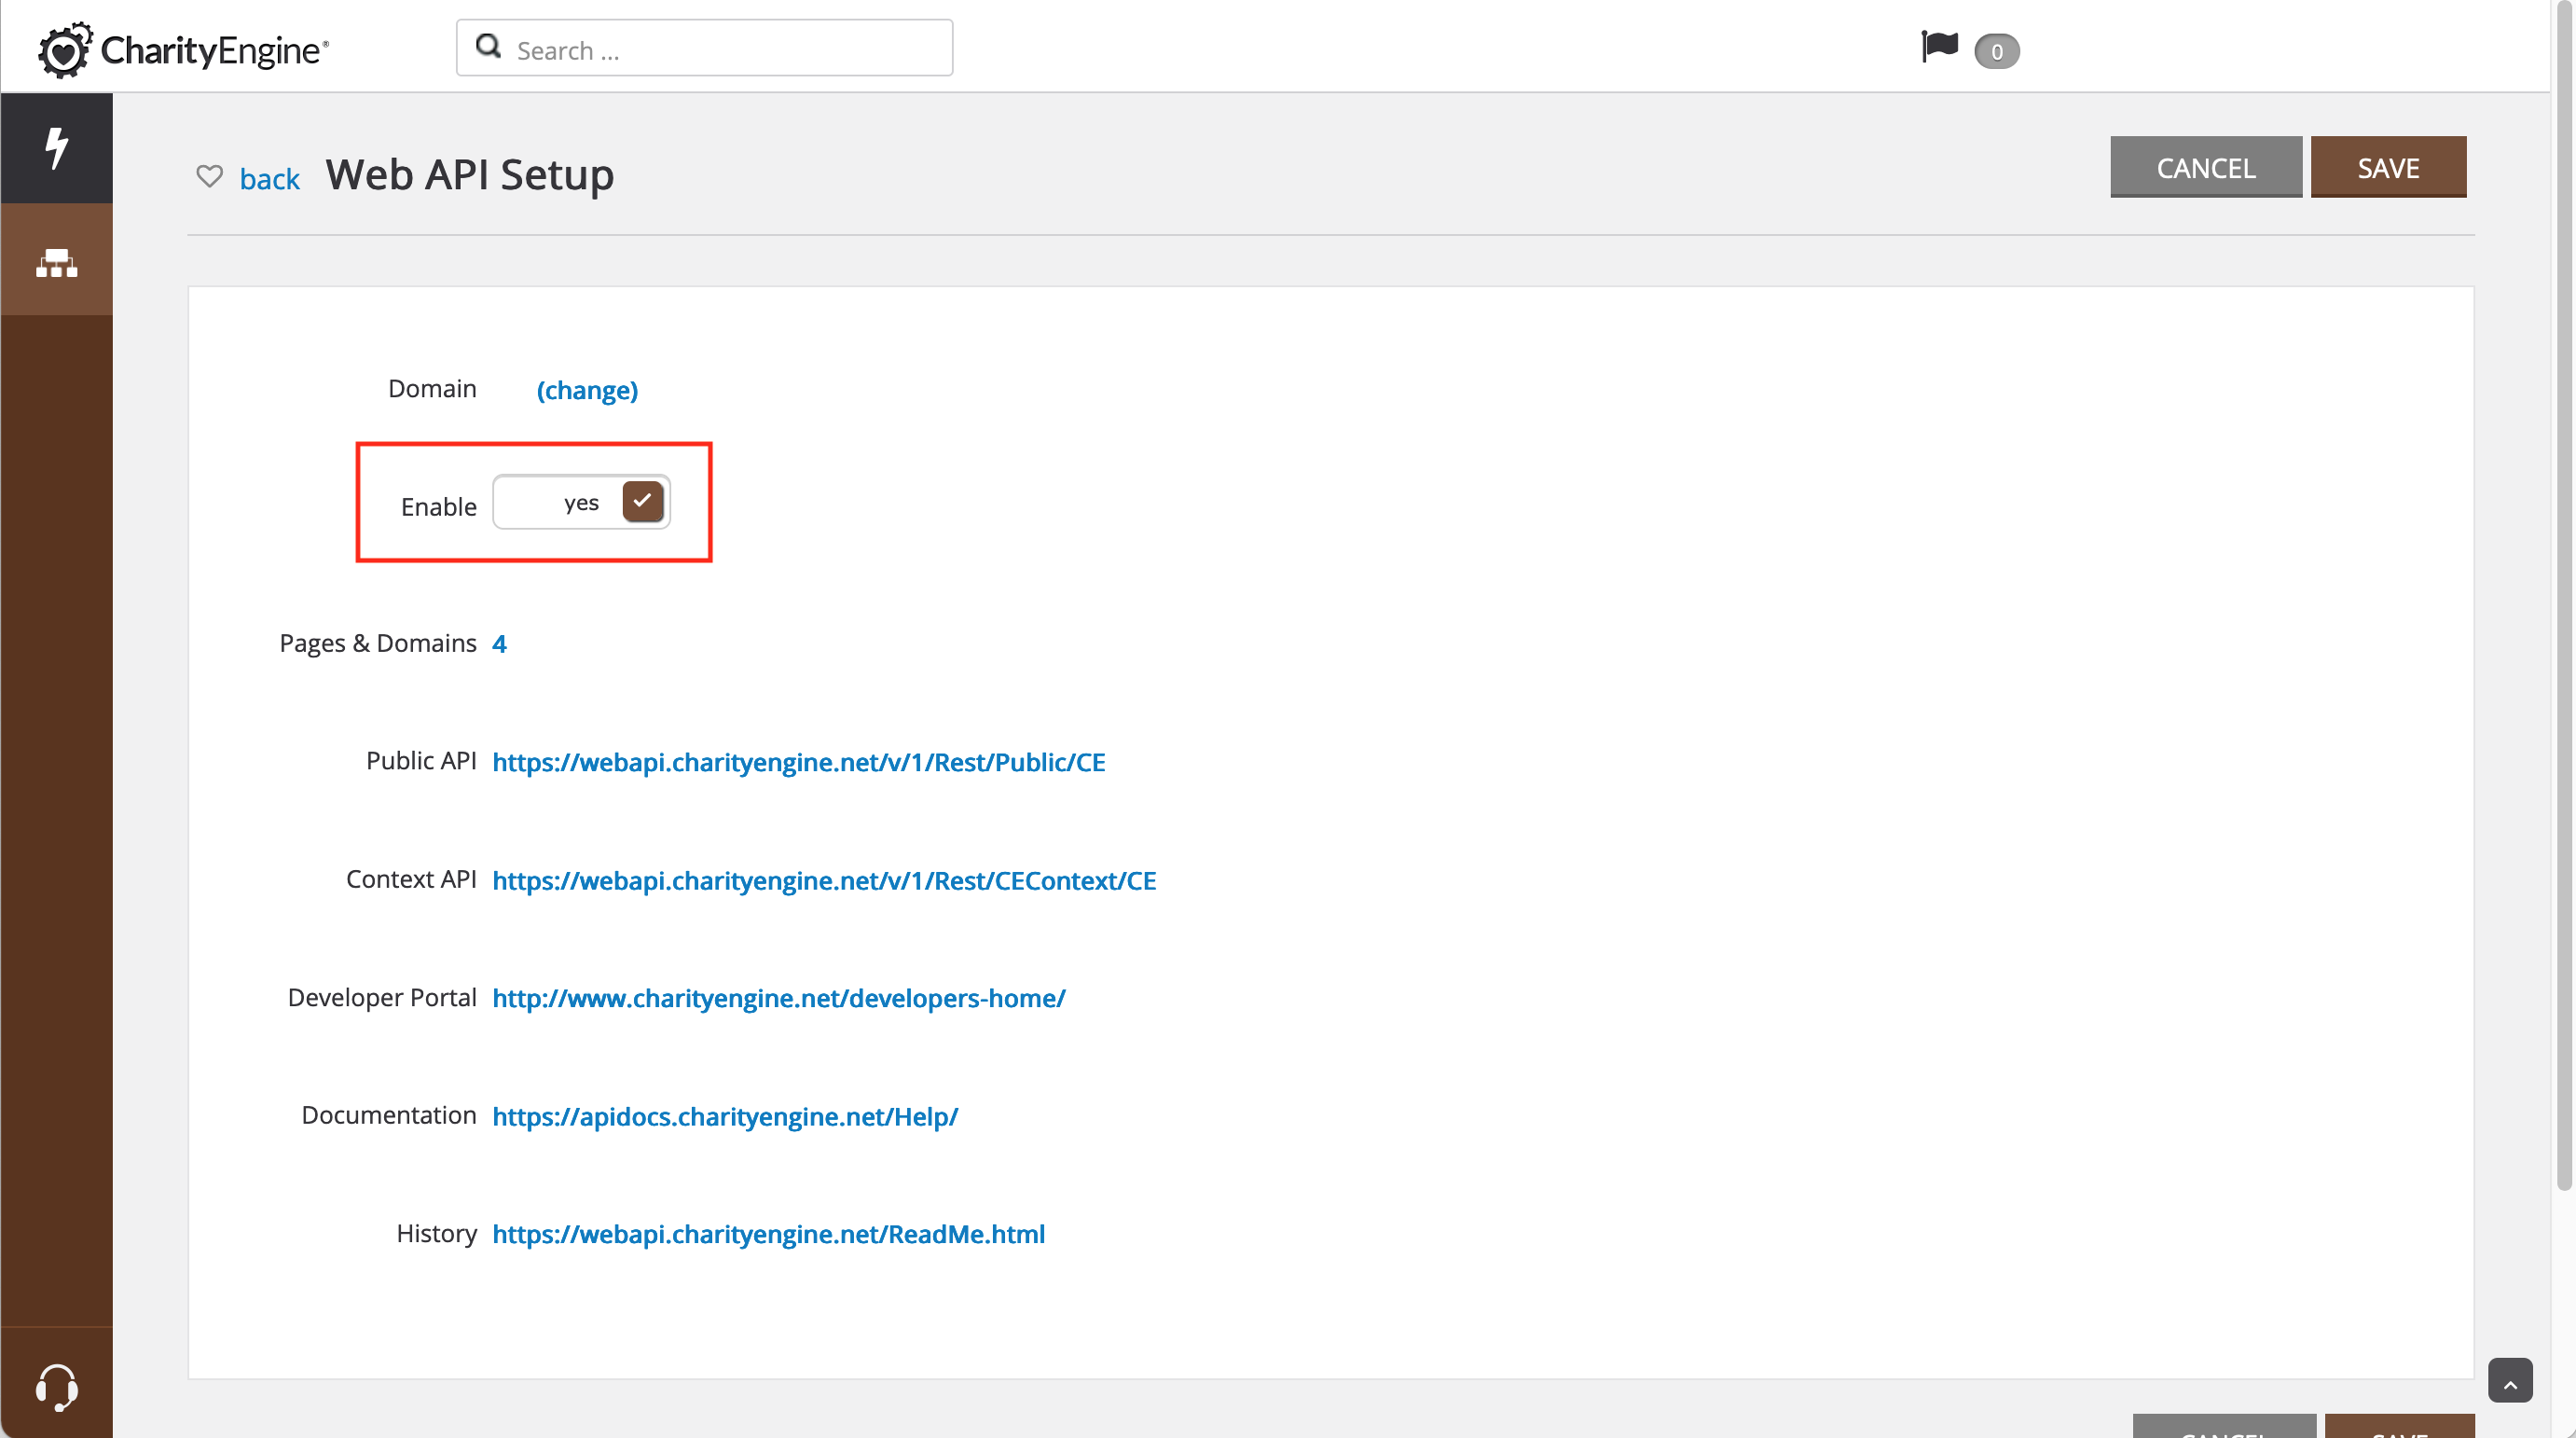
**NOTE: If you already have a key or once your key is created, the API must be toggled to Enable: Yes for the API to work on your associated sites:

**NOTE: The following steps are needed only if your website is hosted by a Third-Party outside of CharityEngine (ex: Wordpress).
Step 1: Navigate to the Online App > Domain Names > App Domains
Step 2: Click on the Create New link at the top right-hand corner of the page.
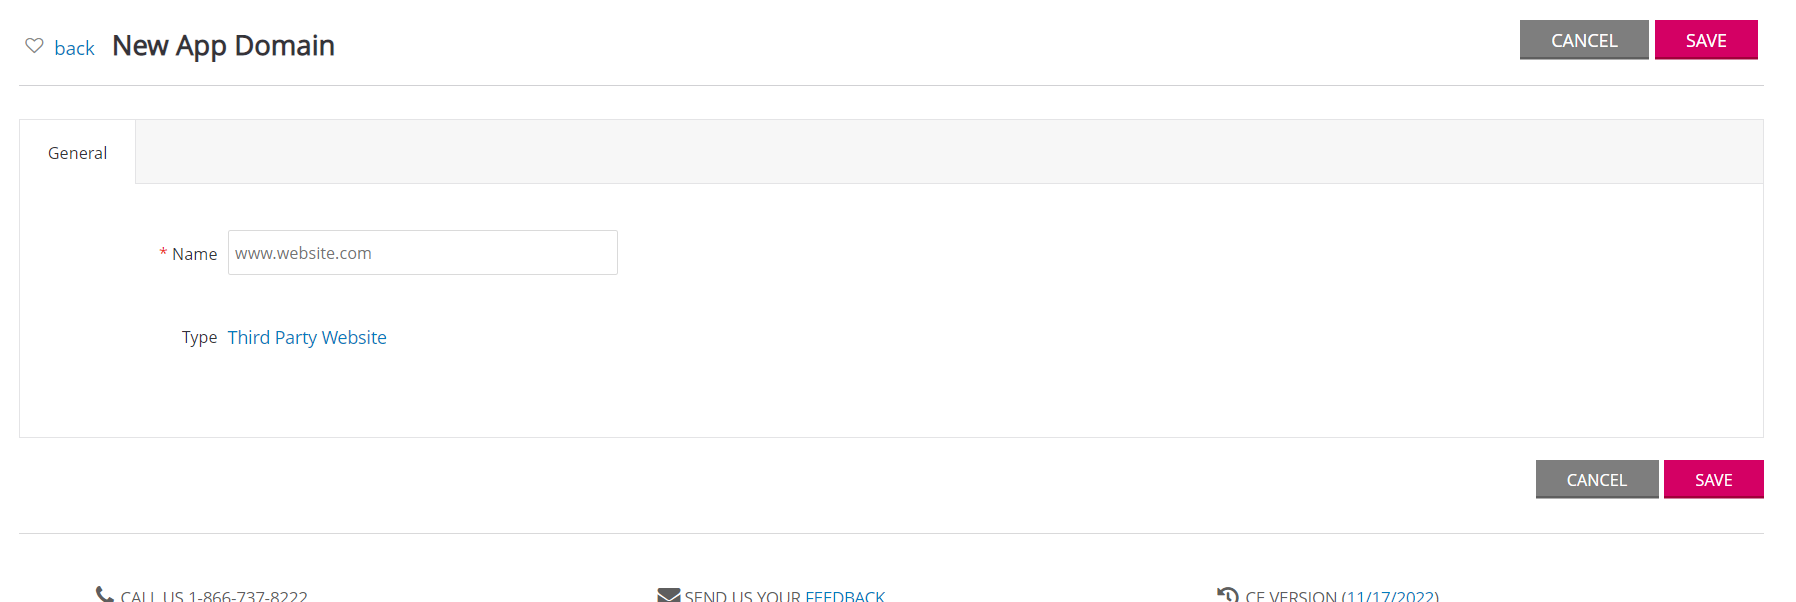
Step 3: Enter in your website URL in the Name field. Click SAVE to secure your changes.

Step 4: Once your new app domain has been created and saved, you will have to add your site as a Third-Party site to the CharityEngine CMS. Navigate to the Online App > Websites > Websites > Create New
Step 5: Select Type: Third-Pary (not hosted)
Step 6: Enter a Name for your website and click the SAVE button in the upper right-hand corner of the page.
Step 7: Once the page refreshes, you will see a new tab for Domain Names. By default, the cms.charityengine.net domain is added.
Step 8: The new domain you created in the previous steps will appear in the list of available domains. Select it and then click the ADD button to add the domain:
Step 9: Once the page refreshes, you will see that the new domain has been added.
Step 10: Remove the entry for cms.charityengine.net by clicking the DELETE link under the ACTIONS column. Your list of domains should now include only the third-party hosted domain(s) where you would like to use the CharityEngine Public API:
Step 11: Next, add your website to the website domains configuration. Navigate to Automation & Workflow > API > Web API Urls (click on See More to expose) > click Create New to expose a pop-up box to enter your website name. Click ADD to confirm your changes.


Step 1: Install the CharityEnigne Web API by including the following code on your website:
<script src="https://webapi.charityengine.net/api.js"></script>
Note: This step is not needed if you are using the API on a site generated within CharityEngine's ecosystem of public applications (ex. CMS Shopping Cart, Web Forms, Advocacy, etc.). The two steps above are however required. The API will be automatically included.
Step 1: After installing the API, set your API key:
<script type="text/javascript">
CE_API.SetApiKey('Your API Key');
</script>