Introduction
Getting your supporters involved is paramount and for some organizations it’s not always about gaining support with financial contributions. Advocacy campaigns are one of the most powerful ways for nonprofit organizations and membership associations engage their supporters without asking for money.
The action that someone took to support the organization is almost as important as the nonprofit’s ability to understand who is engaged, so they can use that information in their lobbying efforts for public policy as well as the ability to solicit their support in the future.
One of the easiest ways for nonprofits and associations to keep track of their supporters’ involvement, is with labels that can be used to help summarize the online and offline participation that a supporter brings to the table. The use of tags, groups and Opt-in lists can be used to better identify supporters for marketing segmentation, used for your reporting as well as to better understand the total lifetime value of the supporter.
Placing a “tag” or “group” on the donor profile is placing a label on them, which allows the group to easily identify people who’ve taken action in a particular way and identify them for outreach appeals. Your supporters may very well have tags/ groups that are associated with donation campaigns, volunteer, event references as well as their inclination to get involved in an advocacy action alert campaign; creating a well-rounded picture of how the supporter is getting involved and referencing their online and offline participation.
For this reason, in the CharityEngine system, we make it easy for nonprofits to tag and group advocates automatically when those supporters take action, which will be added to the overall picture that you are capturing about the supporters who get involved. Tagging (or grouping) someone as a “Hill Day Attendee” or “GOTV Volunteer” could be used later to easily search for people that you might want to sign a petition, get involved in an in-person meeting with legislators campaign, etc.
Similarly, advocates that take action can be automatically subscribed to a mailing list (Opt-in list). As an example, anyone who took action on an action alert could be automatically subscribed to the “advocacy action alert mailing list” or something unrelated to advocacy like the “monthly newsletter” if you so chose.
Table of Contents
Prerequisites
Before you can automatically add tags to be attributed to the donor records from your advocacy action alert form, you’ll need to create an “issue,” which equates to the online form page that will facilitate your advocates taking action. If you need assistance in configuring your advocacy action alert form, please read the linked articles below:
Adding labels (tags, groups, Opt-in lists to advocates) - Overview
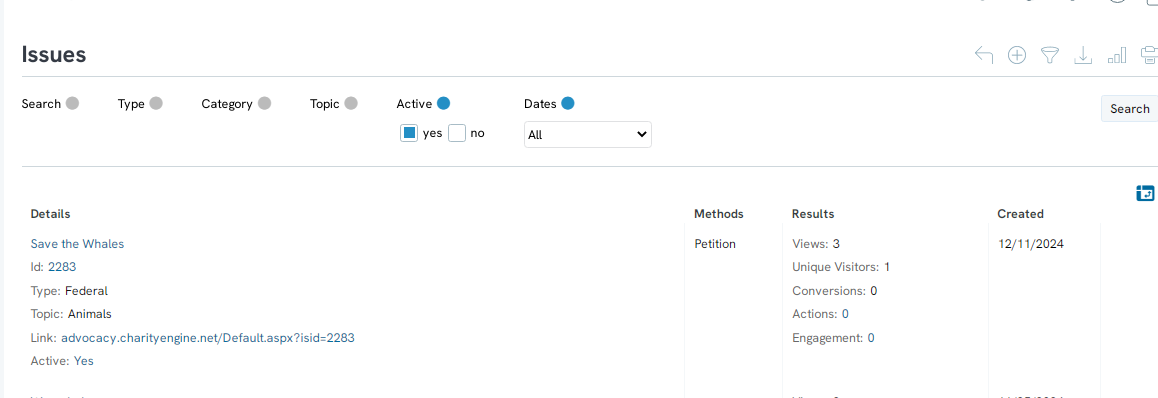
[Step 1] Navigate to Advocacy > Issues & Actions> Issues; to view the advocacy module’s “listing screen,” which displays all of the available issue/ action-alert forms.
[Step 2] On the same line as the advocacy issue that you want to adjust, hover your mouse over the 3-buttons on the far right, which will display options to “manage,” “delete,” or “duplicate” the form for use on another campaign.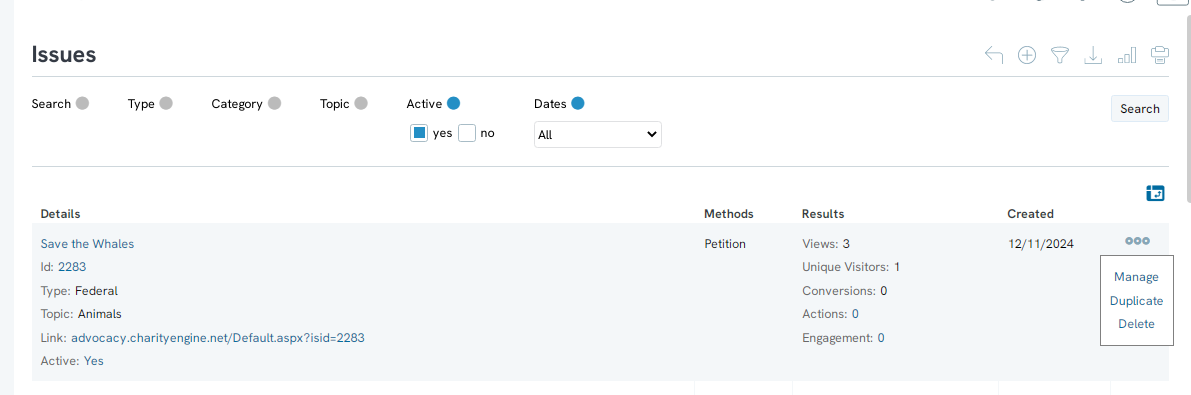
[Step 3] While hovering over the 3-button menu for the issue that you want to adjust click the “manage” option.
[Step 4] You will now see a screen that is managing/ “editing” the specific action-alert form, where there are various tabs to select from. Click on the “Sign Up” tab.
[Step 5] Once you select the “Sign Up" tab, you will see sub-tabs “general,” “custom questions,” & “tagging.” Select the “tagging” sub tab to manage which tag(s), group(s), or Opt-in list(s) that you may want to automatically attribute to a supporter’s donor record.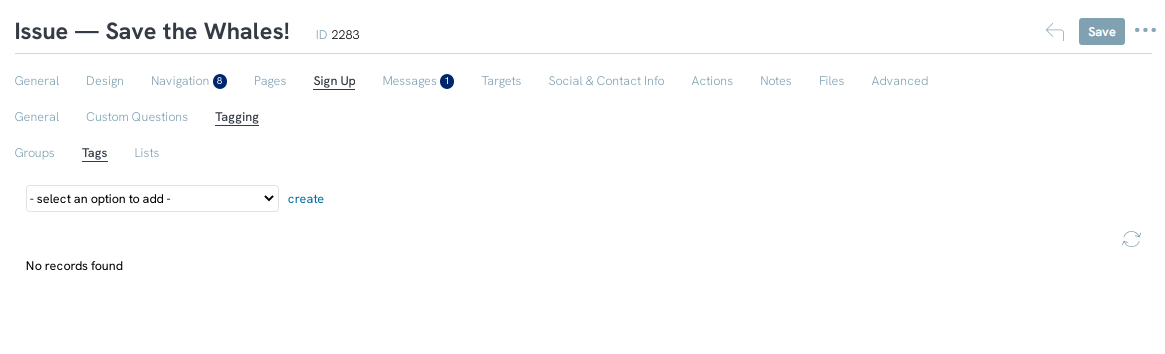
[Step 6] Use the drop-down menu to add a label to any donor’s profile who completes this form with the appropriate Tag(s), Group(s) or Opt-in List(s) that are available. If you do not see the label available, you can select “create” to add to the available options in the dropdown menu.
[ Step 7} Once you have selected the option from the dropdown menu, select the “add” link to assign this label. You will see that in this example, I can add multiple tags and also add group assignments as well. Anyone who completes this form, will automatically have these labels attached to their donor profile in the system. Makes sure to save before selecting to new sub-tab to work on (in other words, after you select all of the tags you want to add – hit save, before you start added other labels like groups or lists).
[Step 8] Once you add any tag(s), group(s), and/or list(s) to be attributed to a donor profile, after they take action on this form, please make sure to SAVE! (good general practice to just save after making any small adjustments to the form before you leave this page).
Outcome
Now that you have followed the above steps, you should be able to manage adding automated “tag” labels to the donor profiles from your advocacy action alert forms, so that your organization can accurately identify, create marketing segments and/or report on the supporters involvement. It will also help you gain a better understanding of your advocates as you continually create a picture of their online and offline participation.
FAQs & Additional Reading
Q: Is this a requirement for starting an advocacy action alert campaign?
A: No – this is not mandatory. However, if you do care to automatically label your advocates after they take action, so you more clearly see the overall picture of their participation and support of your organization, this may be a good option.
Q: Can I configure the system so that this option is automatically configured for all of my advocacy forms?
A: No – this must be configured for each specific/ individual advocacy action alert form.
