Introduction
CharityEngine has a host of reporting options to assist you and your users to quickly and easily gain insights to your donors, their actions, and engagement with your organization. While there are over 90 out of the box reports, CharityEngine also provides you with more customizable reporting throughout each of the applications. The Report Builder is a great tool and will help save a lot of time. The tool will allow you to build a report on almost every page in CharityEngine and will contain all information you have selected. By using the Report Builder in combination with filters, you can easily find the information and save the report to be used in the future. This will save you time as you will only have to search for the information once.
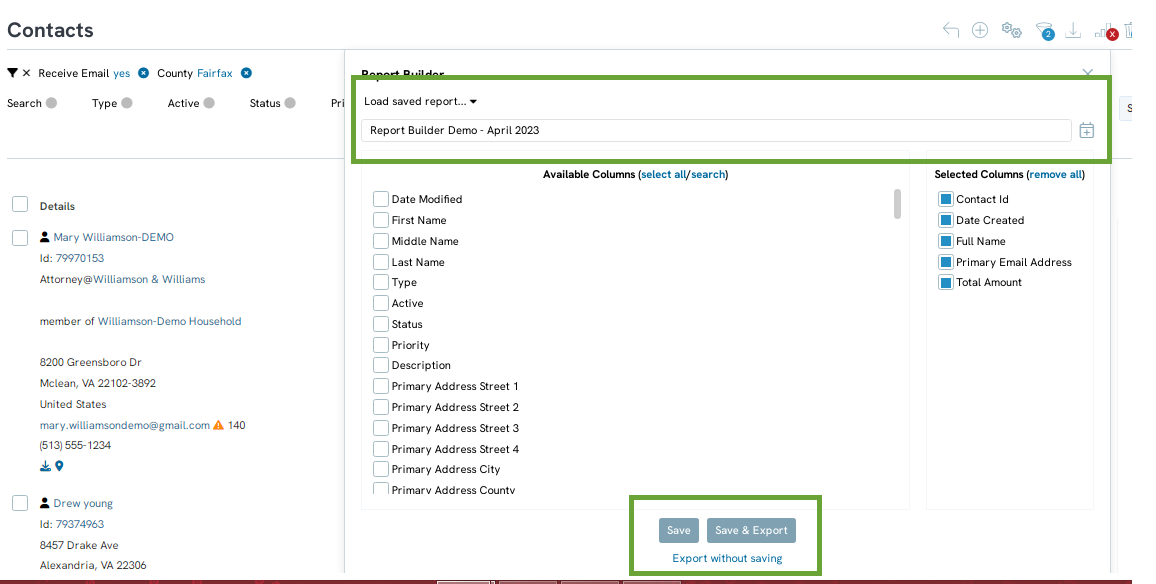
Table of Contents
- Introduction
- Prerequisites
- Instruction: People App - Building a Report to Locate Contacts in a Specific County
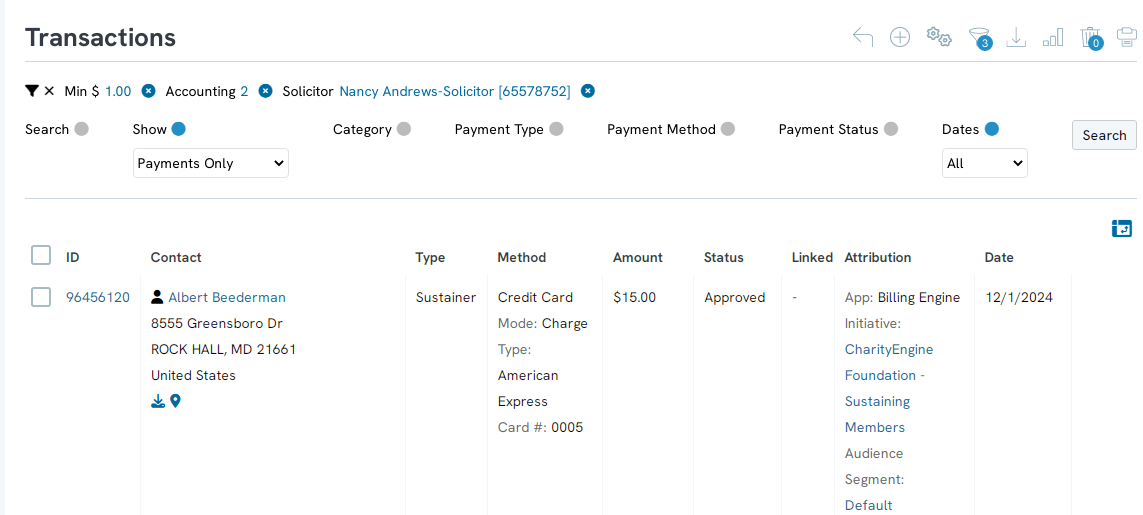
- Instruction: Transactions App - Building a Report to Locate Donors Who Donated Over $100 and Assigned to Specific Solicitor
- Instruction: Events App - Building a Report to Locate
- FAQs & Additional Reading
Prerequisites
This feature will be available on most listing screens. While this article will demonstrate contacts, transactions, and events, explore other areas within your CharityEngine account to leverage the Report Builder for other applications.
Instruction: People App - Building a Report to Locate Contacts in a Specific County
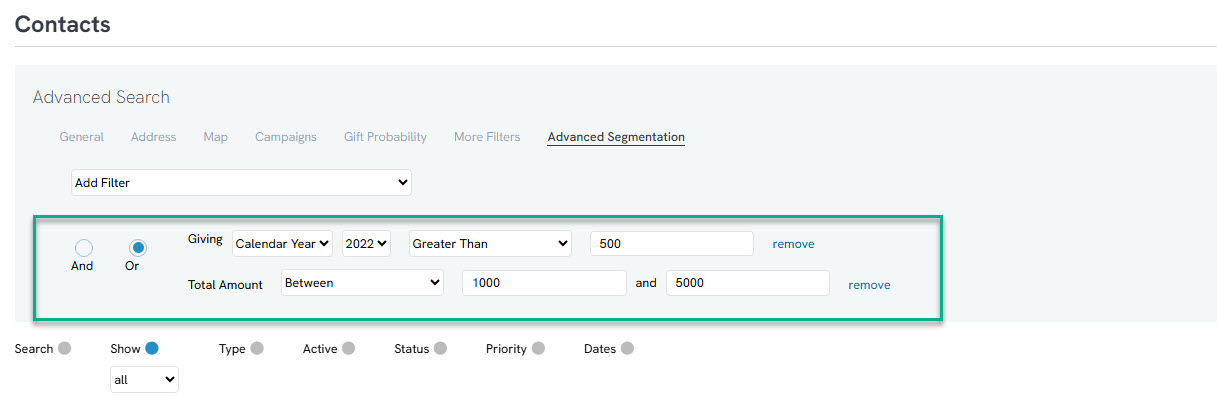
This is a demonstration and example of leveraging the Report Builder feature within the People App. Please explore the various filter criteria available for more complex or specific filter options.

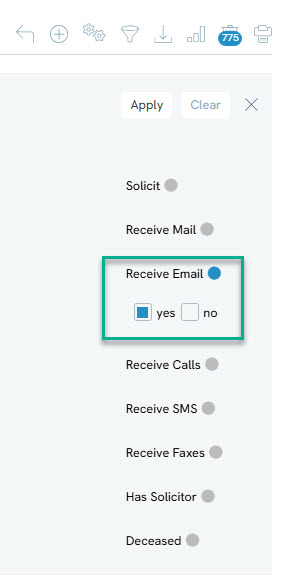
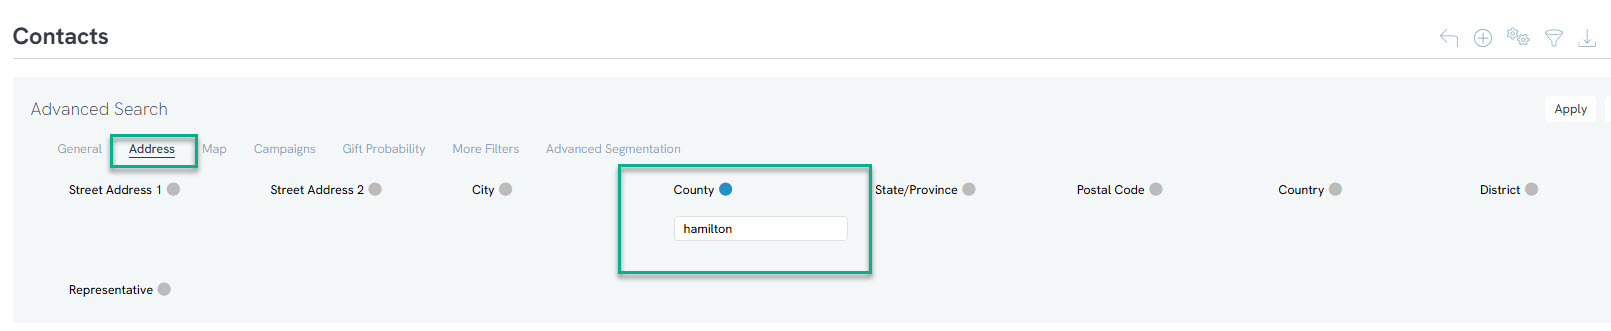
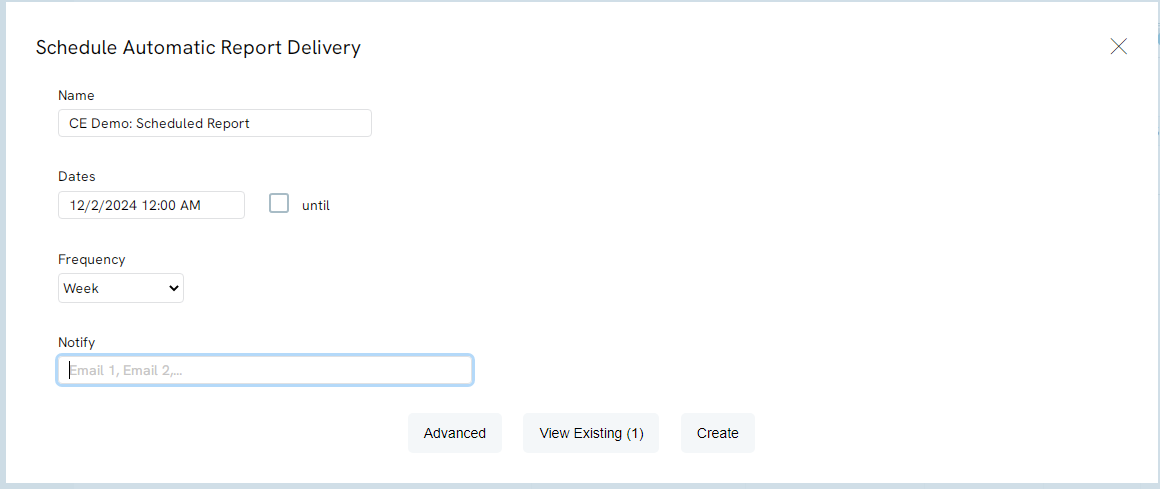
Step 6: Name your job, select your Start Date and time, set your Frequency, and add one or more emails for notification (use comma for multiple emails)
Instruction: Transactions App - Building a Report to Locate Donors Who Donated Over $100 and Assigned to Specific Solicitor
This is a demonstration and example of leveraging the Report Builder feature within the Transactions App. Please explore the various filter criteria available for more complex or specific filter options.
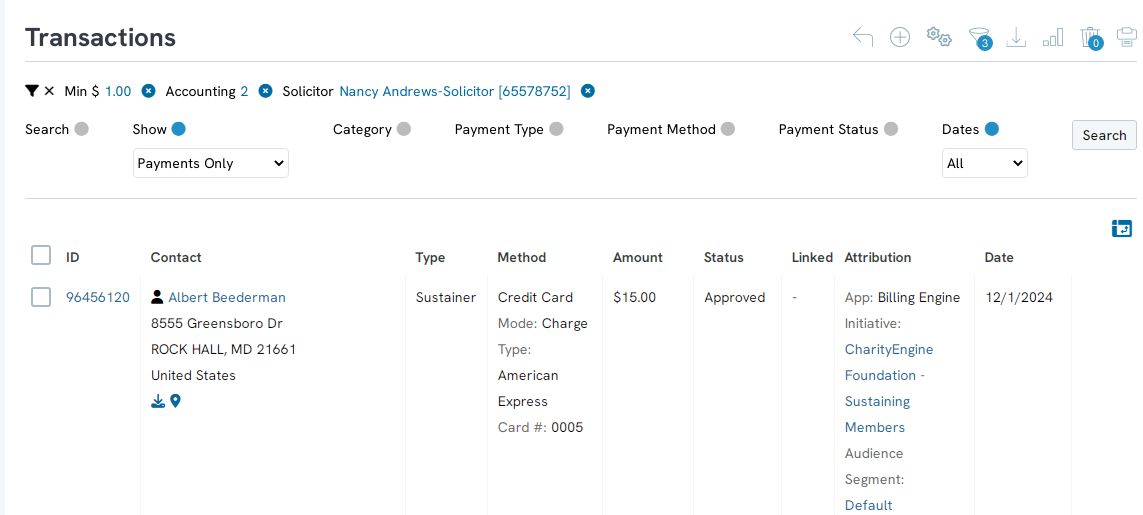
Payment Tab: Amount Min $: 100
Attribution Tab: Solicitor = Nancy Andrews-Solicitor
Click Apply
Instruction: Events App - Building a Report to Locate Registrants
This is a demonstration and example of leveraging the Report Builder feature within the Events & Volunteers App. Please explore the various filter criteria available for more complex or specific filter options.
Region: CharityEngine Foundation East Region
Click Apply
FAQs & Additional Reading
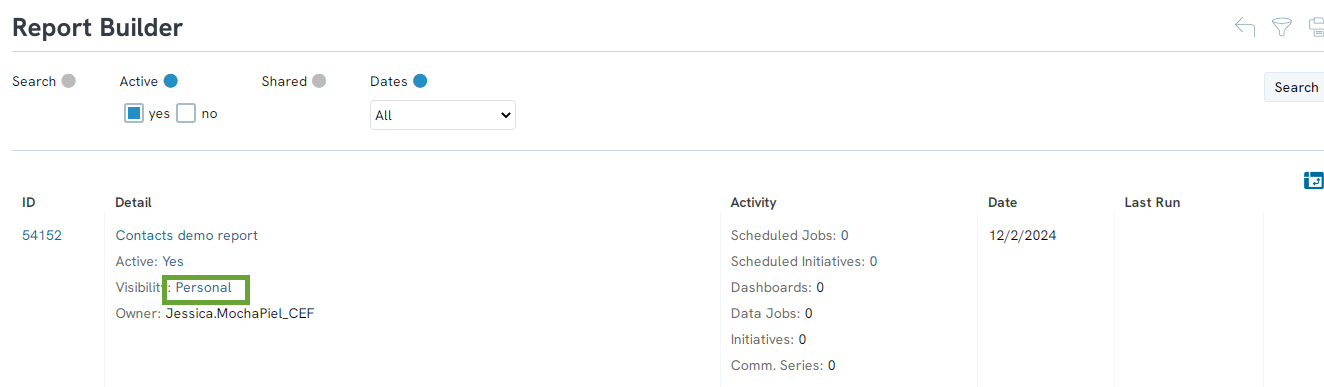
A. Yes. You can share reports so others on your team are also available in the Report Builder list. To make a report shared navigate to the Reports App > General > Report Builder > locate your report > ACTIONS: Make Shared. The visibility field will be modified to 'Shared" and now others will be able to see the report in their report builder drop down.
A. Learn more with our article Automation & Workflow: Modifying a Data Job
A. Yes - navigate to the People App > Organization & People > Contacts > Advanced Filter > access the drop down > select one of the giving history elements. In addition, filter options such as "Equal to" or "Greater than" to assist you with advanced filtering.
