Shopping Cart: Custom Fields and Variants for Products
Introduction
When creating a product, like a T-shirt, for your shopping cart, the Custom Fields and Variant Tabs can be used to customize the products for your consumers. The names of the tabs can be confusing as they sound similar, however, both tabs have different functions.The Customs Fields tab will allow you to configure the customs fields for the product that the consumer can pick from. For example, if your product is a T-Shirt, you could allow your consumer to add custom text or design to the T-shirt. On the other side, Variants are different options for the item such as size or color and are preset for consumers to pick form.
Up
Table of Contents
Prerequisites
You will need to have created the product and shopping cart prior to configuring the custom fields and variants. Additionally, make sure your fulfillment center is also created.Instructions
Before you can set your selections for customization, you will need to configure the options for your consumers to select from to do this, navigate to Configuration application and under Shopping Cart click on Product Custom Fields then click create new in the upper right corner.
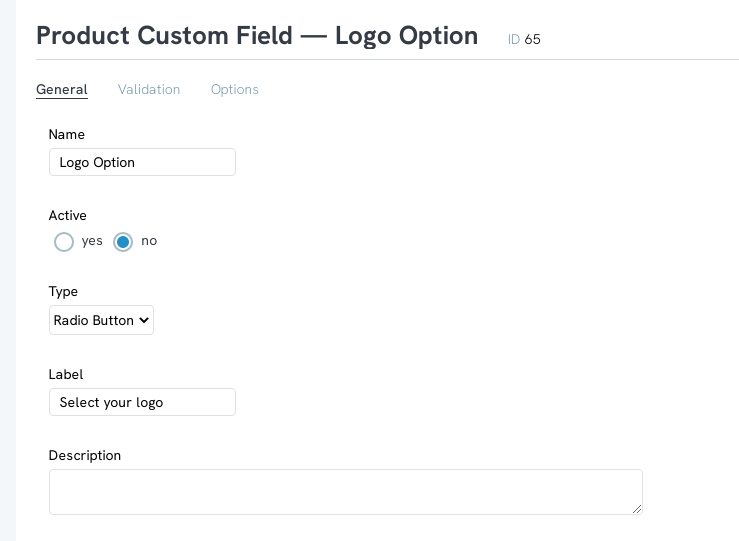
You will need to enter in a name, select the type, and a label for the field, once entered click save.
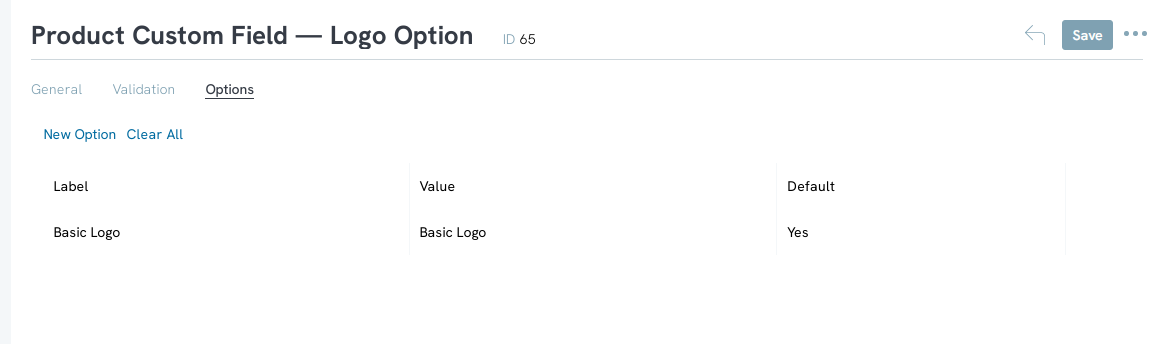
If your custom field has options, like a check box or a dropdown, you will have to add the options as well on the Options tab. Click on New option to create the option.
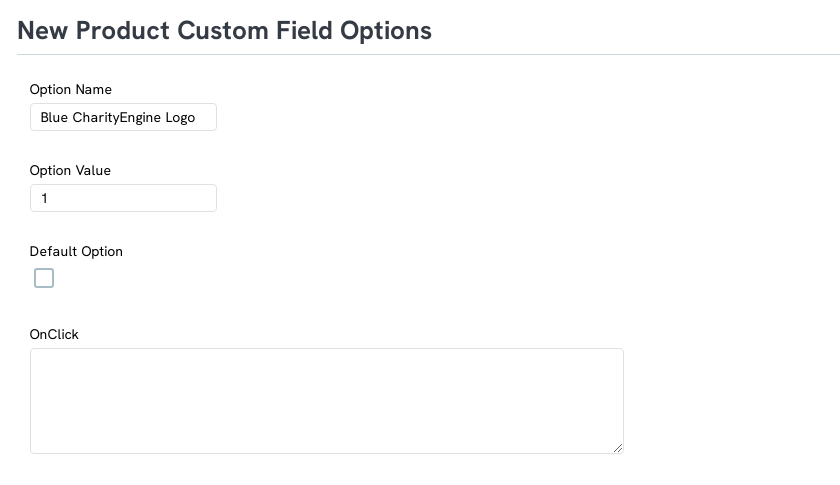
You will then be navigated to create the option for the custom field. Enter in the option name and value, which can be the same. The name will be what is displayed to the consumer and the value will be what is showing in reports.
Once you have your custom options configured, navigate back to your product and to the Custom Field tab, then select from the drop-down what field you would like to allow your consumers to customize on their T-shirt and click ADD
Any fields added will show below, if you would like to remove the field, click on Remove under the Actions column
The Custom Field will allow your consumers to customize certain aspects that you have configured, such as text and pictures, but will not allow customization of size and color. To customize size and color, use the Variant Tab.
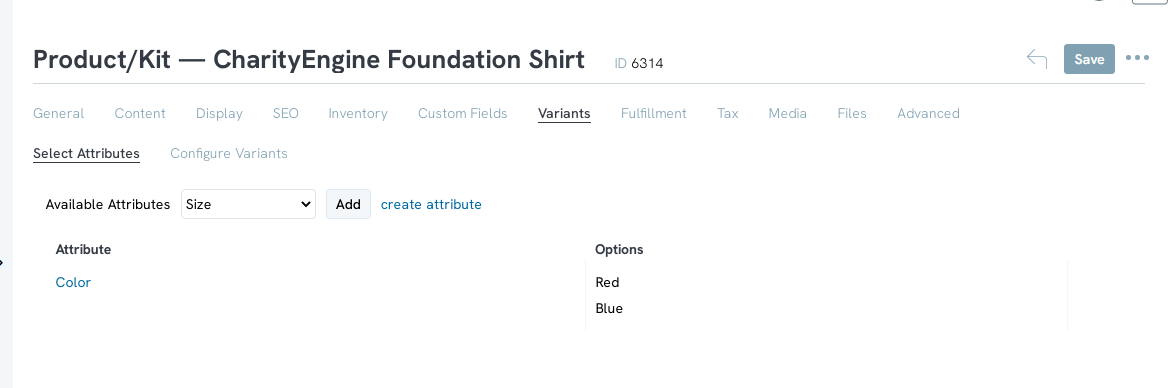
If you have already created attributes, click on the drop-down to select the attribute you want to add and click ADD.
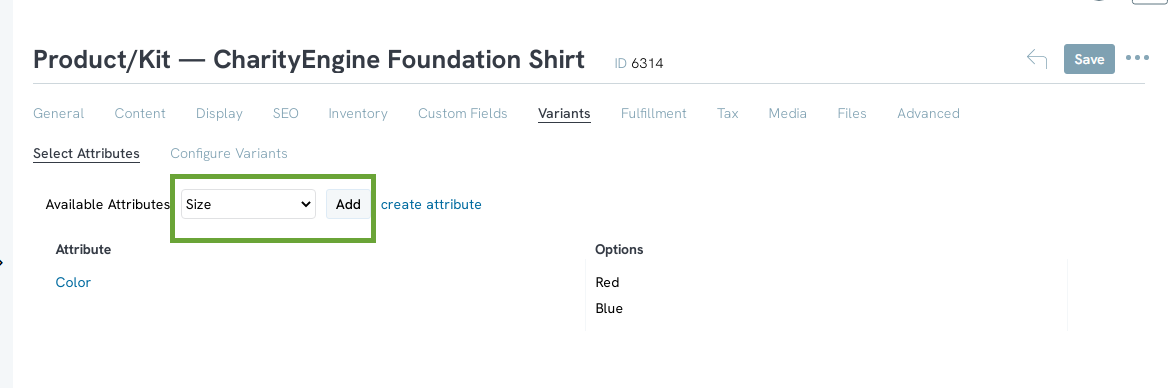
If this is your first product or first product of this type, and you do not have any attributes that match the product, click on create attribute.

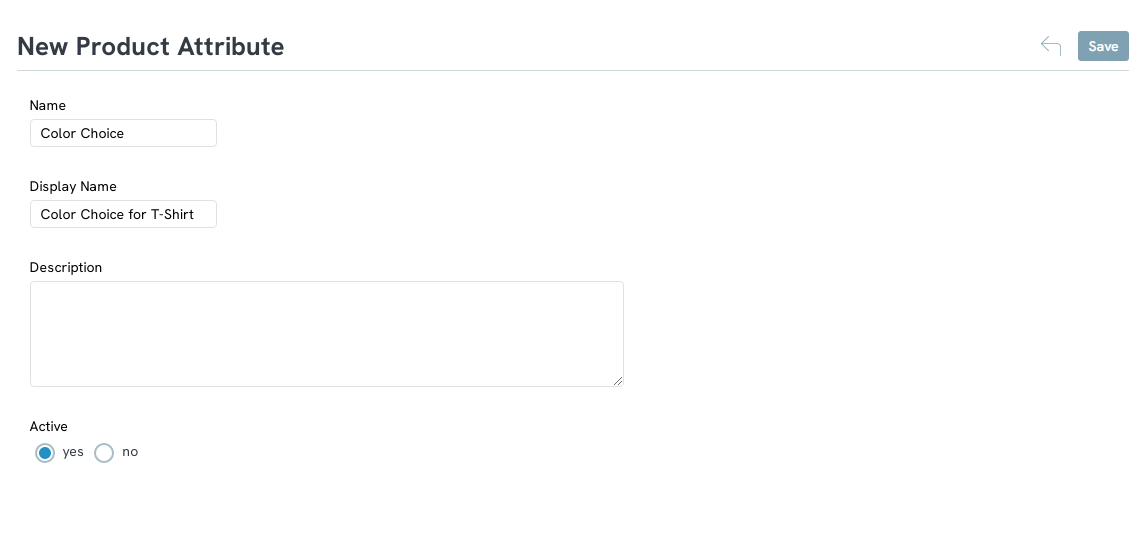
This is lead you to configure the new attribute. Once you have entered the information, click save
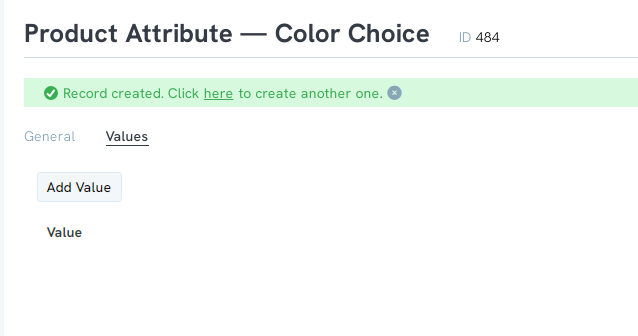
Once you click save, you will be able to add values to choose from on the Value Tab by clicking Add Value.
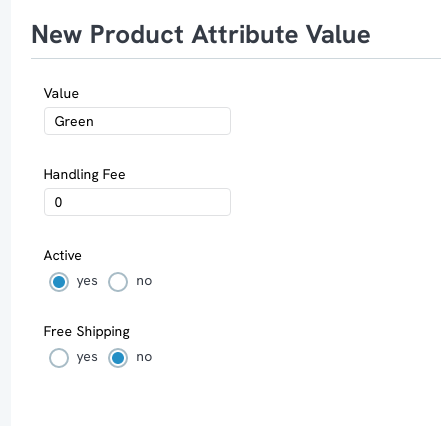
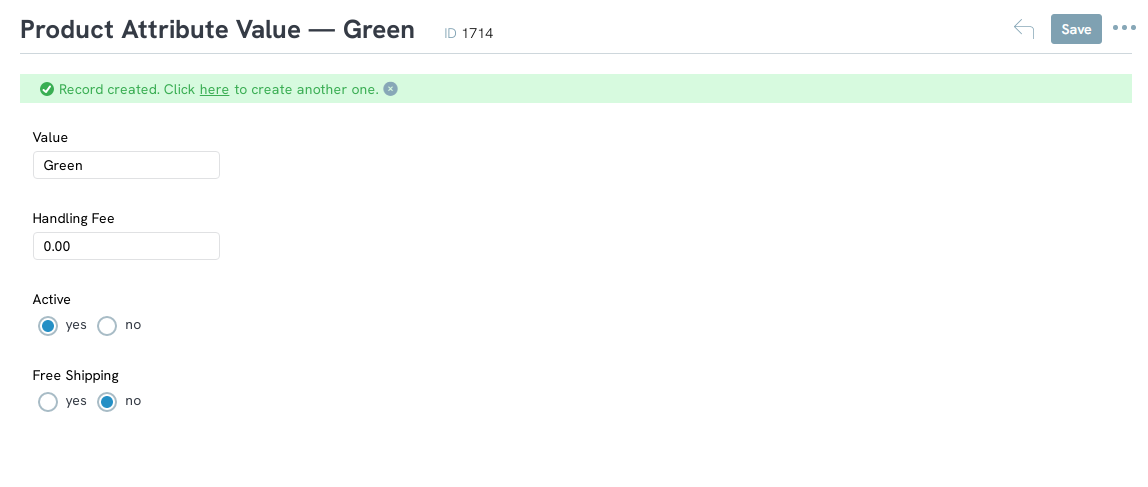
Now you will be able to add the Value information such as the color. If you want to have a different handling fee or free shipping, you can also configure those here.
Click Save and a green bar will appear on the top of the screen that will prompt you to create another attribute. Click
All values will now appear in the values tab. You can manage the values on this screen by reordering how they will appear on the screen or delete them.
